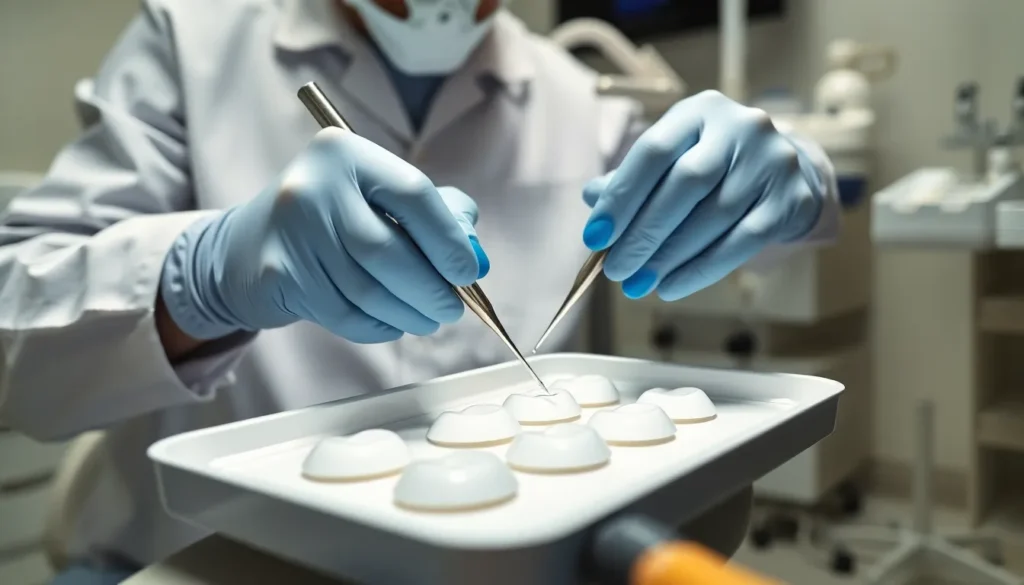
Looking for the perfect veneer polishing technique to make your dental restorations shine? Achieving that flawless, natural-looking finish isn’t just about aesthetics—it’s essential for longevity and patient satisfaction.
When it comes to dental veneers, the polishing stage represents the crucial final touch that transforms good work into exceptional results. Whether you’re working with porcelain, composite, or ceramic materials, proper polishing techniques remove microscopic roughness and create a smooth, stain-resistant surface. You’ll find that well-polished veneers not only look better but also feel more comfortable for your patients and resist plaque accumulation more effectively.
The right polishing approach depends on the veneer material, with each requiring exact tools and techniques to achieve optimal results without damaging the restoration or surrounding tissues.
What Are Dental Veneers?
Dental veneers are thin, custom-made shells designed to cover the front surface of teeth, improving their appearance by improving color, shape, size, or length. These restorations are bonded to the front of teeth, transforming smiles with minimal tooth reduction compared to other cosmetic options. Typically made from porcelain or composite resin materials, veneers provide a natural-looking solution for various cosmetic concerns.
“I’ve seen countless patients transform not just their smiles but their confidence with veneers,” shares Dr. Todd B. Harris. “One patient, Sarah, came to me hiding her smile behind her hand due to tetracycline staining. After we placed her porcelain veneers, she couldn’t stop smiling in every photo – it’s these moments that remind me why I love cosmetic dentistry.”
Porcelain veneers offer superior stain resistance and light-reflecting properties that mimic natural tooth enamel. They’re incredibly durable, lasting 10-15 years with proper care. Composite veneers, made from resin, can be applied in a single visit and cost less than porcelain options, though they typically last 5-7 years before needing replacement.
The veneer placement process involves several steps: diagnosis and treatment planning, preparation of the tooth surface, custom fabrication in a dental laboratory, and bonding to your natural teeth. Your dentist removes approximately 0.5mm of enamel from the tooth surface to accommodate the veneer thickness, ensuring a natural appearance without adding bulk.
Veneers address many cosmetic issues including discolored teeth resistant to whitening, worn down teeth, chipped or broken teeth, misaligned or irregularly shaped teeth, and gaps between teeth. Many patients choose veneers as part of a complete smile makeover, combining them with other treatments for comprehensive results.
Why Veneer Polishing Is Essential

Veneer polishing plays a critical role in maintaining both the aesthetic appeal and functional longevity of your dental veneers. Regular professional polishing enhances the natural luster of veneers, keeping them looking as beautiful as the day they were placed. The microscopic smoothness achieved through proper polishing techniques creates a surface that’s resistant to staining from coffee, wine, and other pigmented foods and beverages.
Beyond aesthetics, polished veneers contribute significantly to your oral health. The smooth surface prevents plaque accumulation and bacterial adhesion, reducing the risk of gum inflammation around your veneer margins. Patients with well-maintained veneers typically experience fewer complications and enjoy their restorations for the maximum possible lifespan.
Dr. Todd B. Harris notes, “I’ve seen countless patients transform their confidence with veneers, but it’s the ones who commit to regular polishing appointments who maintain that perfect smile for years. One patient, Sarah, has had her porcelain veneers for over 12 years now, and they still look remarkable because she never misses her polishing appointments.”
Professional veneer polishing removes the subtle surface roughness that develops over time from normal wear. This roughness, though invisible to the naked eye, creates micro-retention areas where staining agents can penetrate. Polishing eliminates these areas, restoring the smooth, light-reflective quality that gives veneers their natural appearance.
The polishing process also provides an opportunity for your dentist to inspect your veneers for any signs of wear, damage, or margin issues that might require attention. Early detection of these problems through regular maintenance appointments can prevent more extensive and costly repairs later.
The Science Behind Veneer Polishing
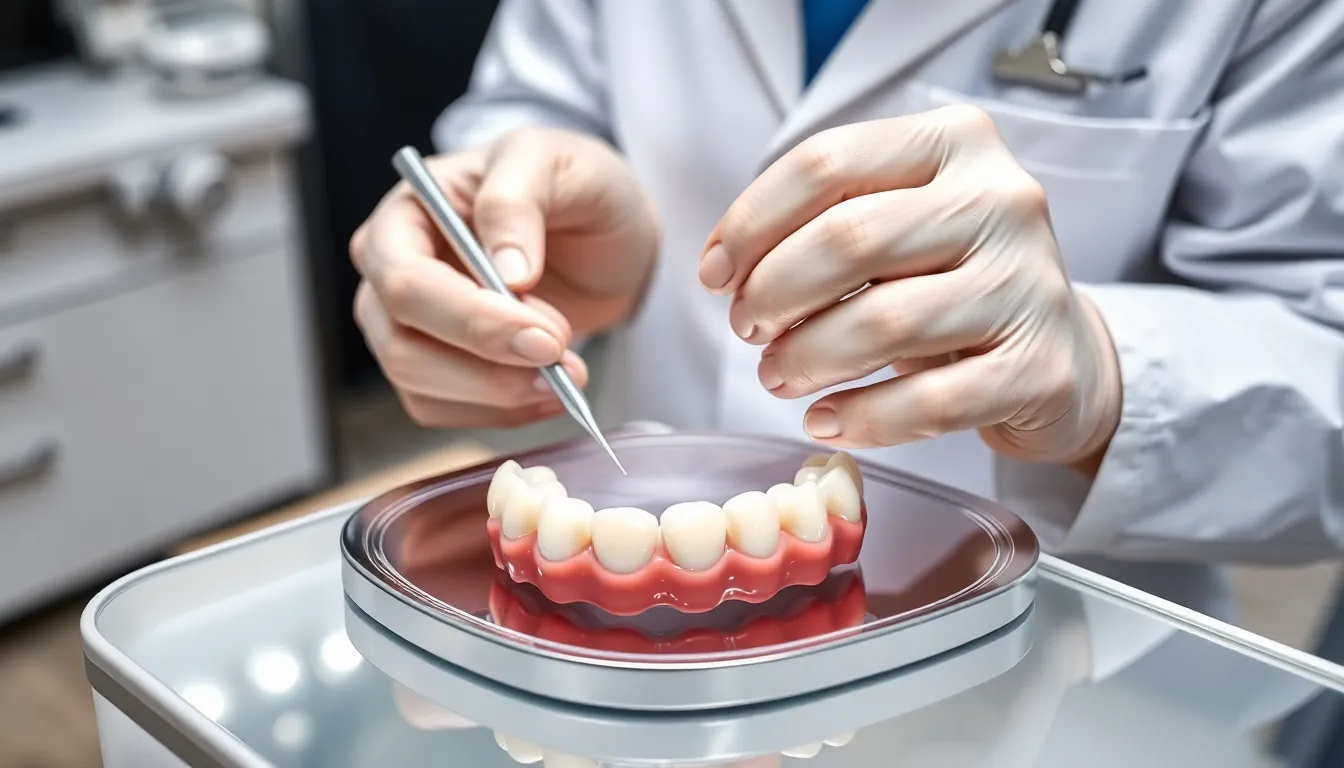
Veneer polishing represents a critical procedure in cosmetic dentistry that directly impacts both aesthetics and longevity. The process involves precise techniques to restore or enhance the smoothness and shine of dental veneers through specialized instruments designed for exact materials.
Different Types of Veneer Materials and Their Polishing Needs
Each veneer material demands unique polishing approaches to maintain optimal appearance and durability. Porcelain veneers typically receive a glossy finish during fabrication through glazing, requiring diamond pastes and specialized instruments to restore this shine without damaging the surface. Dr. Todd B. Harris explains, “Many of my patients don’t realize that improper polishing of porcelain veneers can result in a dull, matte finish that attracts stains—that’s why we use systems like Brasseler’s Dialite specifically designed for porcelain restoration.”
Composite veneers contain microfilled or nanocomposite materials with filler particles that contribute to their polishability. These restorations need gentle, nonabrasive polishing agents applied in a exact sequence to achieve a high shine while preserving surface integrity. The right polishing technique for composite veneers significantly reduces bacterial adhesion and staining potential.
Zirconia veneers, though less common in cosmetic dentistry, require exact polishing regimens often involving fine tin oxide slurries. These specialized compounds maintain an optimal finish that promotes both longevity and oral health, making them worth considering for certain clinical situations.
Surface Roughness and Aesthetic Impact
Surface roughness directly affects your veneer’s appearance and longevity in measurable ways. A rough or matte veneer surface leads to increased plaque accumulation and higher susceptibility to staining from coffee, wine, and other colored substances. Proper polishing smooths these irregularities, creating a glossy surface that reflects light attractively and naturally.
The polishing sequence plays a crucial role in achieving optimal results. Starting with coarser polishing instruments and progressively moving to finer ones creates a smoother surface than using a single polisher alone. Dr. Harris notes, “I recently treated a patient who came to me dissatisfied with veneers done elsewhere—they looked dull and had accumulated important staining. After properly polishing them using the correct sequence of instruments, she couldn’t believe they were the same veneers. The transformation brought tears to her eyes.”
Research demonstrates that polished veneers with minimal surface roughness not only look better but also function better in the oral environment. The smooth surface creates fewer opportunities for bacteria to adhere, reducing the risk of inflammation around the veneer margins and extending the functional lifespan of your cosmetic investment.
Professional Veneer Polishing Techniques
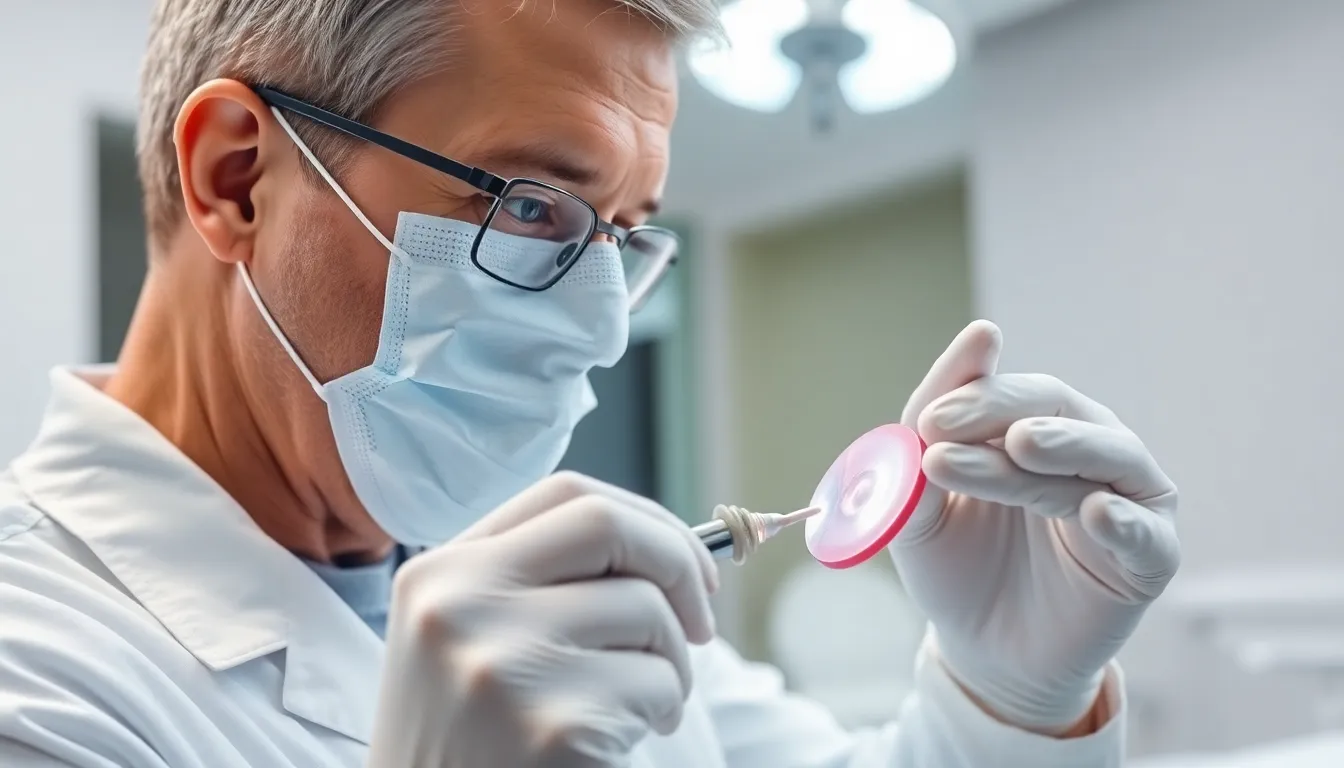
Professional veneer polishing techniques transform ordinary dental restorations into dazzling smile enhancements. Cosmetic dentists employ specialized materials and instruments to achieve a high-gloss finish that mimics the original veneer glaze, preserving both aesthetics and functionality. These techniques are essential for maintaining the investment patients make in their smile.
Traditional Hand Polishing Methods
Traditional hand polishing relies on the skilled touch and expertise of dental professionals using manual instruments. Dentists apply diamond-containing pastes with polishing cups or brushes, gradually smoothing veneer surfaces to eliminate minor defects or wear patterns. This tactile approach allows for exceptional control when addressing exact areas of the veneer that require attention.
“I’ve seen remarkable transformations using traditional hand polishing techniques,” notes Dr. Todd B. Harris. “One patient came in with 5-year-old veneers that had lost their luster from coffee staining. Using a series of progressive polishing pastes applied by hand, we restored the original brilliance without compromising the integrity of her restorations.”
The process typically involves gradual refinement using increasingly finer diamond pastes to remove microscopic scratches while preserving the veneer’s structure. Careful attention to margin areas where the veneer meets natural tooth structure ensures seamless integration and natural appearance. Though more time-consuming than machine methods, hand polishing offers unparalleled precision for delicate adjustments in challenging cases.
Machine-Assisted Polishing Systems
Machine-assisted polishing systems enhance efficiency and consistency in veneer maintenance procedures. These systems use rotary tools with specialized discs of varying grits to progressively refine veneer surfaces with predictable results. Yellow Fine FlexiDiscs followed by Pink Superfine FlexiDiscs rotating at approximately 10,000 RPM create an increasingly smooth surface before the final polishing stage.
Felt buffing wheels combined with aluminum-oxide enamelize paste deliver the ultimate high-gloss finish that reflects light similarly to natural enamel. Modern polishing systems enable dentists to apply controlled pressure and consistent motion, resulting in uniform shine while reducing operator fatigue during longer procedures.
Dr. Harris recommends machine polishing during routine maintenance visits, explaining, “For my patients with multiple veneers, machine polishing systems allow me to efficiently remove surface stains and restore brilliance in a single appointment. A recent patient who diligently attended quarterly polishing appointments has maintained her porcelain veneers in pristine condition for over a decade—looking virtually identical to when they were first placed.”
Diamond polishing instruments play a crucial role in both hand and machine techniques, as they effectively remove surface imperfections without damaging the underlying porcelain structure. The stepwise approach—progressing from medium grit to superfine finishing tools—ensures optimal results that enhance both the appearance and longevity of dental veneers.
Best Tools for Veneer Polishing
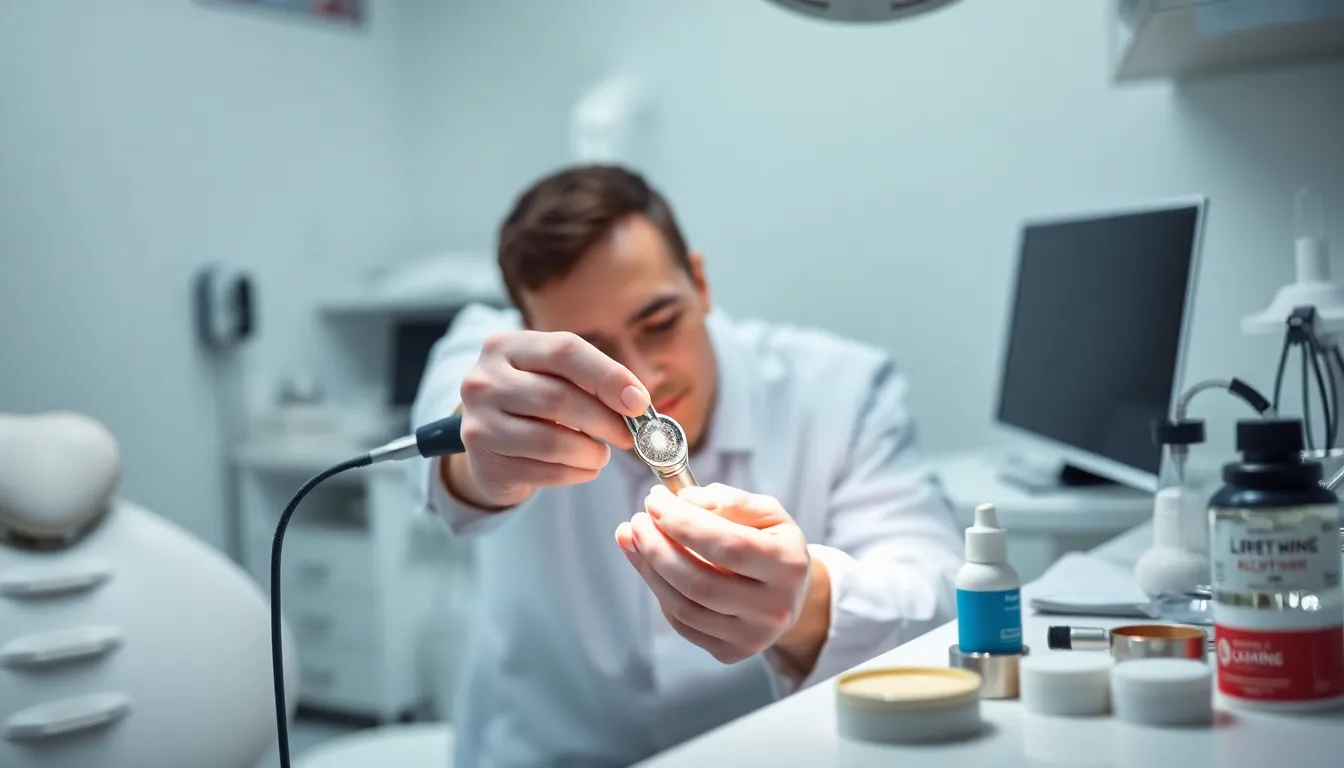
Achieving that perfect shine on dental veneers requires specialized tools designed specifically for delicate ceramic and porcelain surfaces. Professional-grade veneer polishing equipment ensures optimal results without damaging the restoration’s integrity or surrounding tissues.
Polishing Burs and Diamond Polishers
Diamond polishers provide efficient surface adjustment and pre-polishing of ceramic veneers with exceptional precision. These specialized instruments create optimal material smoothing and prepare the surface for final high-shine treatments. Their diamond-impregnated tips offer controlled abrasion that respects the veneer’s structure while effectively removing microscopic roughness.
Polishing burs serve as essential rotary instruments in the veneer refinement process, creating a smooth finish on all restorative materials. These tools help dental professionals refine veneer surfaces after initial contouring, directly improving both aesthetic appearance and long-term durability. Dr. Todd B. Harris notes, “I’ve seen countless cases where the right polishing bur makes the difference between an acceptable result and truly spectacular veneers that look completely natural.”
Polishing Pastes and Compounds
The Porcelize Kit represents the gold standard for veneer polishing, featuring specialized pastes in 1-micron and 3-micron formulations designed specifically for porcelain and ceramic restorations. These professional-grade polishing compounds enhance both shine and durability by progressively refining the veneer surface to a glass-like finish.
Grit pastes come in various textures—coarse, medium, and fine—each serving a exact purpose in the polishing sequence. Starting with coarser pastes removes surface irregularities, while medium and fine grits create increasingly reflective surfaces. Dr. Harris shares, “I recently restored a patient’s 10-year-old veneers using our progressive grit polishing system, and she couldn’t believe they weren’t brand new restorations—that’s the power of proper polishing compounds.”
Brushes, Wheels, and Points
Rubber wheels deliver consistent intermediate polishing results, creating uniformly smooth veneer surfaces before final polishing steps. These flexible instruments conform to the restoration’s contours, allowing for even pressure distribution and controlled material removal without generating excessive heat.
Felt wheels paired with polishing compounds create that coveted high-gloss finish that mimics natural enamel’s reflective properties. Their soft texture allows for gentle yet effective buffing that brings out the veneer’s inherent translucency and shine. Unlike brushes (which aren’t typically used for veneer polishing), wheels and points offer more precise control when working on these delicate restorations.
Step-by-Step Veneer Polishing Process
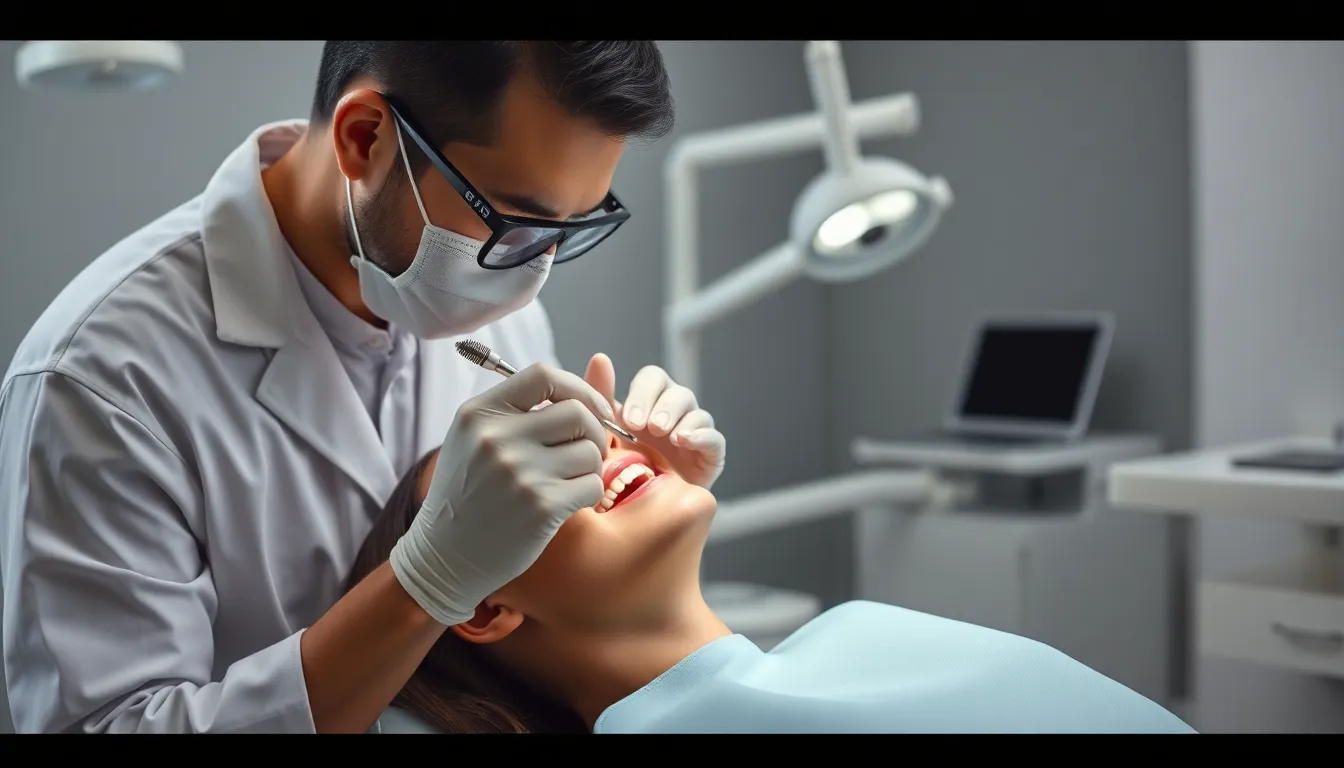
Step 1: Cleaning and Preparation
The veneer polishing process begins with thorough cleaning to remove any residual bonding materials or debris from the surface. Your dentist etches and prepares the area carefully to ensure strong adhesion between your natural tooth and the veneer. This critical preparation stage creates an optimal foundation for long-lasting results that resist staining and wear.
Step 2: Removing Excess Material
Excess composite or cement around the veneer margins requires precise removal after bonding. Dentists typically use a medium-grit diamond bur to trim away extra material without damaging the veneer or your tooth structure. Dr. Todd B. Harris explains, “Careful removal of excess bonding material is essential for creating seamless transitions between the veneer and natural tooth, preventing future staining or bacterial accumulation at these vulnerable junction points.”
Step 3: Initial Polishing
Progressively finer polishing instruments smooth the veneer surface during the initial polishing phase. Rubber polishing points or specialized brushes gently remove microscopic roughness and create an even surface texture. This step transitions the veneer from its raw bonded state to a more refined appearance, setting the stage for the final high-gloss finish.
Step 4: Fine Polishing for Shine
Achieving that coveted natural enamel shine requires fine polishing pastes or specialized composite polishing kits. Polishing discs or cups coated with diamond-infused paste bring out a brilliant luster that mimics natural teeth. Dr. Harris shares, “I had a patient who was initially disappointed with her veneers until we completed the fine polishing stage—her eyes lit up when she saw the transformation from flat matte to vibrant, light-reflective surfaces that looked completely natural.”
Step 5: Final Inspection and Adjustment
Comprehensive inspection for rough spots or uneven surfaces marks the final stage of the veneer polishing process. Your dentist makes necessary adjustments to ensure your veneers feel comfortable and look perfectly natural in your mouth. These final touches often make the difference between good and exceptional results, with attention paid to how light reflects across the entire smile.
Additional Clinical Considerations
Composite veneers require particularly meticulous polishing to prevent stain buildup and maintain their aesthetic appeal. Temporary veneers need gentle handling until the polishing and final placement of permanent veneers are complete. Professional polishing also significantly reduces plaque accumulation around veneers, contributing to better overall oral health and extending the lifespan of your cosmetic investment.
Maintaining Your Polished Veneers at Home
Proper home care keeps your dental veneers looking brilliant between professional appointments. Daily maintenance preserves both the aesthetics and longevity of your investment while preventing common issues that might require costly repairs.
Daily Cleaning Routine
A gentle cleaning approach protects your veneers from premature wear. Mix warm water with a few drops of mild dish soap, then apply this solution using a soft cloth while wiping in the direction of the veneer grain to prevent streaking. Regular dusting with a microfiber cloth removes surface buildup that can dull your veneers’ appearance over time. Avoid harsh chemicals like bleach, ammonia, or abrasive cleaners as they can permanently damage or discolor your veneer finish.
“I’ve seen patients extend the life of their veneers by 3-5 years simply through consistent home maintenance,” notes Dr. Todd B. Harris. “One patient maintained her porcelain veneers in pristine condition for over 12 years using nothing more than gentle daily cleaning and periodic professional care.”
Effective Polishing Techniques
Occasional polishing restores your veneers’ natural luster between dental visits. Apply a small amount of furniture polish specifically formulated for veneer surfaces using a soft cloth, then buff gently to enhance protection and shine. For minor scratches, oil polish can fill in and disguise small surface imperfections without damaging the veneer material.
Preventing Damage
Protective measures significantly extend your veneers’ lifespan. Use coasters, placemats, and protective pads under hot or heavy objects to prevent heat damage and scratches. Moisture exposure can cause warping or bubbling, so limit contact with water during cleaning. Position veneer furniture away from direct sunlight or install UV-protective window films to prevent fading and surface deterioration. Felt protectors placed under furniture legs effectively prevent dents and scratches from everyday use.
When to Seek Professional Help
Professional restoration becomes necessary when veneers lose their shine even though home care efforts. Deep scratches, important discoloration, or structural issues require expert attention to restore original luster. Most veneer specialists recommend professional polishing appointments every 6-12 months to maintain optimal appearance and address minor issues before they worsen.
Common Veneer Polishing Mistakes to Avoid
Veneer polishing requires precision and care to maintain the beautiful appearance and longevity of your dental investments. Many patients unknowingly damage their veneers through improper maintenance techniques. Understanding these common mistakes helps you protect your smile enhancement for years to come.
Using Hard-Bristled Toothbrushes
Hard-bristled toothbrushes scratch the polished surface of veneers, causing premature dullness and damage. These abrasive bristles gradually wear down the glossy finish that gives veneers their natural appearance. Opt for soft-bristled brushes and use gentle, circular motions to clean your veneers without compromising their polish or irritating your gums.
“I’ve seen patients with 3-year-old veneers that look 10 years old simply because they’ve been using firm bristles,” notes Dr. Todd B. Harris. “Switching to a soft brush can dramatically extend the lifespan of your veneer’s polish.”
Applying Abrasive Toothpaste
Abrasive or gritty toothpastes create microscopic scratches on veneer surfaces, leading to polish deterioration and increased staining susceptibility. These formulations contain particles designed to remove tough stains but prove too harsh for delicate veneer materials. Choose gentle, non-abrasive whitening toothpastes specifically formulated for cosmetic dental work to maintain brightness without damaging the polished finish.
Improper Flossing Technique
Careless flossing damages veneer edges and gradually loosens the restoration over time. Applying excessive force or using a sawing motion while flossing can chip the polished margins where the veneer meets your natural tooth. Adopt a gentle flossing technique, carefully sliding the floss between teeth rather than snapping it into place to preserve your veneer’s integrity.
Ignoring Teeth Grinding
Bruxism places tremendous stress on veneers, causing fractures and chipping that destroy their polished finish. Many patients don’t realize they grind their teeth at night until damage has already occurred. A custom nightguard creates a protective barrier between your upper and lower teeth, preserving your veneers’ polish and structure during sleep.
Consuming Problematic Foods
Hard or sticky foods directly challenge the structural integrity of veneers and compromise their polished surface. Biting into nuts, hard candies, or chewy caramels can crack or dislodge veneers instantly. Cut challenging foods into smaller, manageable pieces and avoid direct biting with your front veneers to reduce trauma risk.
Skipping Professional Maintenance
Regular dental checkups provide essential professional cleaning and assessment of your veneers’ condition. Dental professionals detect early signs of polish deterioration or damage before they become important issues. Appointments every six months ensure your veneers maintain their glossy appearance and structural integrity for their full expected lifespan.
Working With Inexperienced Ceramists
The final polish and appearance of veneers heavily depend on your ceramist’s expertise and attention to detail. Dr. Harris explains, “I had a patient who received veneers from another practice that looked dull and unnatural from day one. After we replaced them with properly polished restorations from our master ceramist, she couldn’t believe the difference in how natural and luminous they appeared.”
Experienced dental ceramists understand the nuances of creating and finishing veneers that maintain their polish longer. Choosing a dental team with proven esthetic results ensures your veneers receive the proper initial polish that serves as the foundation for long-term beauty.
When to Schedule Professional Veneer Polishing
Professional veneer polishing appointments maintain the brilliance and longevity of your dental investments. Dental experts typically recommend scheduling polishing sessions every three to six months, coinciding with your regular dental checkups. These routine maintenance visits allow your dentist to remove plaque and tartar buildup that dulls your veneers’ surface while simultaneously checking for any potential issues.
Regular polishing sessions extend your veneers’ lifespan by maintaining their smooth, shiny surface and preventing staining and surface damage. You’ll notice the difference immediately after a professional polishing appointment as your veneers regain their original brightness through the removal of surface discoloration.
“I’ve seen patients maintain the same stunning veneer appearance for over a decade simply by committing to their regular polishing schedule,” notes Dr. Todd B. Harris. “One patient came in recently concerned about her five-year-old veneers looking slightly dull. After a single professional polishing session, her smile was restored to its original brilliance, and she was amazed by the transformation.”
Your dental checkups serve a dual purpose—not only do they include veneer polishing, but they also allow your dentist to assess for chips, cracks, or other issues that might compromise your veneers. Many patients find that scheduling these appointments every six months offers the perfect balance for maintaining optimal veneer appearance and addressing any concerns before they worsen.
For those with exact lifestyle factors like coffee consumption or smoking, more frequent polishing appointments every three months might be beneficial. Your dentist can provide personalized recommendations based on your exact veneer type, oral habits, and overall dental health.
Conclusion
Veneer polishing stands as the defining factor between ordinary dental work and truly exceptional results. By investing in proper polishing techniques both professionally and at home you’ll significantly extend the life and beauty of your veneers.
Remember that different veneer materials require exact polishing approaches to maintain their luster. Whether you have porcelain composite or zirconia veneers consistent maintenance prevents staining and preserves their natural appearance.
Schedule professional polishing every 3-6 months while following gentle daily cleaning routines at home. Your diligence will pay off with veneers that continue to shine brilliantly for years creating a smile that’s both healthy and stunning.
Frequently Asked Questions
What are dental veneers?
Dental veneers are thin, custom-made shells that cover the front surface of teeth to improve appearance. They can enhance color, shape, size, or length with minimal tooth reduction compared to other cosmetic options. Typically made from porcelain or composite resin, veneers are bonded to teeth to create a natural-looking smile makeover. Porcelain veneers last 10-15 years while composite veneers typically last 5-7 years.
Why is veneer polishing important?
Veneer polishing is crucial for both aesthetics and longevity. It removes microscopic roughness, creating smooth, stain-resistant surfaces that enhance patient comfort and reduce plaque accumulation. Polishing maintains the natural luster of veneers, making them resistant to staining from foods and beverages. It also contributes to oral health by preventing plaque buildup and allows dentists to inspect for signs of wear or damage.
How often should veneers be professionally polished?
Professional veneer polishing is recommended every three to six months, ideally coinciding with regular dental checkups. These appointments maintain veneer brilliance by removing plaque and tartar buildup while allowing dentists to check for potential issues. Patients with specific lifestyle factors like coffee consumption or smoking may benefit from more frequent polishing. Regular maintenance significantly extends veneer lifespan.
What tools are used for professional veneer polishing?
Professional veneer polishing requires specialized equipment designed for delicate ceramic and porcelain surfaces. Diamond polishers allow for precise surface adjustment, while polishing burs refine veneer surfaces. The Porcelize Kit features specialized pastes that progressively refine surfaces to a glass-like finish. Rubber and felt wheels are effective for achieving high-gloss results. Using the right tools ensures optimal outcomes without damaging veneers.
What are common veneer polishing mistakes to avoid?
Avoid hard-bristled toothbrushes and abrasive toothpastes, which can scratch veneer surfaces. Don’t use excessive force when flossing, as this can damage veneer edges. Address teeth grinding (bruxism) promptly to prevent fractures. Avoid hard or sticky foods that can compromise veneers. Don’t skip regular professional maintenance appointments, which help detect early signs of damage. Working with experienced ceramists ensures proper initial polish and long-term beauty.
How can I maintain my polished veneers at home?
Maintain veneers with a gentle daily cleaning routine using warm water and mild dish soap. Regularly dust with a microfiber cloth to prevent wear and dullness. Consider occasional polishing with furniture polish for added shine. Use protective measures like coasters and felt protectors to prevent damage. Seek professional help for deep scratches or discoloration. Consistent home maintenance combined with professional care every 6-12 months significantly extends veneer life.
How does the veneer material affect the polishing technique?
Different veneer materials require unique polishing approaches. Porcelain veneers typically receive a glossy finish during fabrication and need specific polishing systems to restore their shine. Composite veneers require gentle, nonabrasive agents to achieve high shine without compromising surface integrity. Zirconia veneers need different polishing protocols altogether. Each material’s unique properties determine the appropriate tools, pressure, and polishing compounds to use.
What is the step-by-step veneer polishing process?
The process begins with thorough cleaning to remove residual bonding materials, followed by precise removal of excess material around veneer margins using medium-grit diamond burs. Initial polishing employs progressively finer instruments to smooth the surface. Fine polishing with specialized pastes achieves a natural enamel shine. A final inspection ensures comfort and aesthetic appeal. This meticulous process is particularly important for composite veneers to prevent staining.

